Saturday, July 28, 2012

Traveling with cloth

Kickin' back fishing
In less than a week we'll be heading to our cabin in beautiful northwestern Ontario.  Time to relax, spend time with wonderful friends, catch some fish.  We have no internet access up there; while it seems like it would be difficult to disconnect with the world we interact with every day online, once you hear the beautifully quiet background that is simply wind, waves, and wildlife, you wish for nothing more than to stay longer. :) Our vacation spot has been in my husband's family for well over six decades, each generation taking care of it.

Our morning view
It's about a 6 hour trip one way. Of course, we take our cloth diapers on the trip! Traveling for longer periods with cloth is pretty easy if you know you will be able to wash diapers during your vacation. Stuff your diaper bag with as many diapers, wipes, and diaper salve as you'll need for the duration of travel, and carry a wetbag in the vehicle. Put the rest of the diapers you'll need and an extra wetbag with your luggage. Don't forget the detergent and any additives you use! Then once you arrive, it's business as usual. Unless he had a particularly stinky diaper, I never noticed any smell having the wetbag inside the truck. I've changed diapers in the back of the vehicle many times when a restroom wasn't available.

A beautiful, mirror-still day
I like a simple, single layer pillowcase style fleece wetbag. I made mine for a wicker pail, but to save cargo room, we don't bring the big pail with to the cabin. Fleece is breathable and while 2 layers are more waterproof than 1 layer, as long as you're not putting in absolutely sopping wet soiled diapers, 1 layer of fleece is sufficient. Best of all, you wash the wetbag right with the diapers!

As you know, your wash routine depends on what type of water you have; the water up at the cabin is much softer than what we have at home. I have yet to get the right wash routine down for the cabin and usually have to strip the diapers upon arriving back home! This year, hoping to avoid that, I made Kaiden twenty new flats out of printed cotton twill. Flats are easier to get clean, and line dry much quicker. The advantage of the printed cotton twill I use is that it does not get "crunchy" when line dried like other fabrics do. We only have a clothesline there, no dryer - for rainy days, we string up a line through the interior of the cabin.  Like planning to leave for vacation, planning the trip home is the same - you'll want to wash diapers the day before if you're leaving early in the morning.
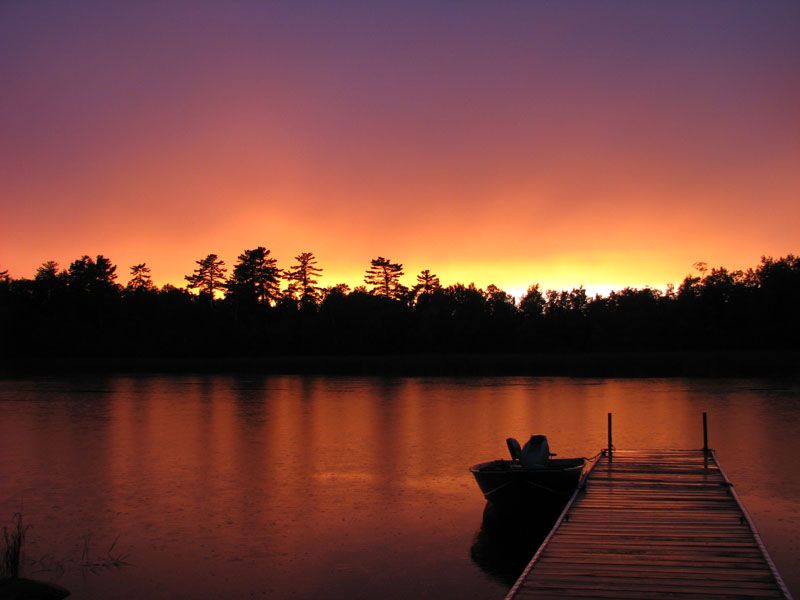
Good night, world
If you can't tell, LOL, I love to take pictures up there!  I hope you enjoy seeing them as much as I enjoy taking them. :)

Friday, July 27, 2012

Our Story:

I'm Anne, 36, mom to two 3 yr olds: our special little boy and his rottweiler, Lola. Nature & natural products have long been a passion of mine, dating back to gradeschool! I've been making natural cold process soaps, natural lotions, and crafty items for several years now and at much urging from friends, finally did something with my Etsy account, which I opened in October of 2009. The original intent of the shop was for my soaps and lotions. However, I opened the Etsy account around the same time my son began having seizures ~ it took me until May of 2010 to figure out exactly what foods were triggering his seizures (nightshades) ~ and once the seizures stopped, his development took off! After that I had a little more free time and began to work on a sturdy OS fitted diaper design; hence the shop *actually* opened in December of 2010. :)

A little background on my fitted design: our son is special needs and with his low muscle tone, this led to a very wide waist when he was at his chunkiest. At 13 months, he barely fit into the largest setting on OS diapers! When his seizures stopped and he got active, first his legs really slimmed down, but still had a wide waist and long rise. Then his waist slimmed too. It was hard to find a diaper that fit around both his changing waist and little legs, yet still accomodated a long rise! I sat down and wrote out what I wanted out of a diaper. Then I started to draw. Then I started to sew! It took several design modifications; but all of that led me to create a diaper I absolutely love.  Now that he is 3 1/2, he still has that very long rise but skinny little chicken legs, LOL, and being able to adjust the rise and accomodate his small thighs is a blessing.

I use cotton flannel, cotton twill, and/or bamboo in my fitted diapers: each diaper is three layers of fabric with the third layer creating an inner pocket. With generous side flaps, super stretchy leg elastic, and an adjustable rise, this diaper will fit a range of sizes.

It may take a bit of experimenting to get the best fit on your child. To find out where the rise should be, lay the diaper under baby, and with their weight holding the diaper down, pull the front forward toward you and then up and over baby's abdomen. This stretches the leg elastic and gives baby a better fit. Once the right rise length is determined, remove the diaper and add any insert of your choosing for added absorbency if necessary. I find it easiest to stuff the insert of your choosing so the front end of the insert stops at the rise length, then fold the front flap down over it to the inside. For smaller babies, you may fold the front flap however you choose for added absorbency. Absorbency needed will depend on baby's wetting habits.

Pins are needed for diaper closure; snaps and aplix are available as well.  Fitted diapers require a diaper cover for waterproofing; however many moms love to use fitteds without covers for around-the-home use for breathability.

Any questions, please feel free to ask!  I love chatting about cloth diapers! :)